Italiando

Snow day braise

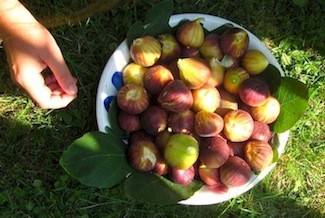
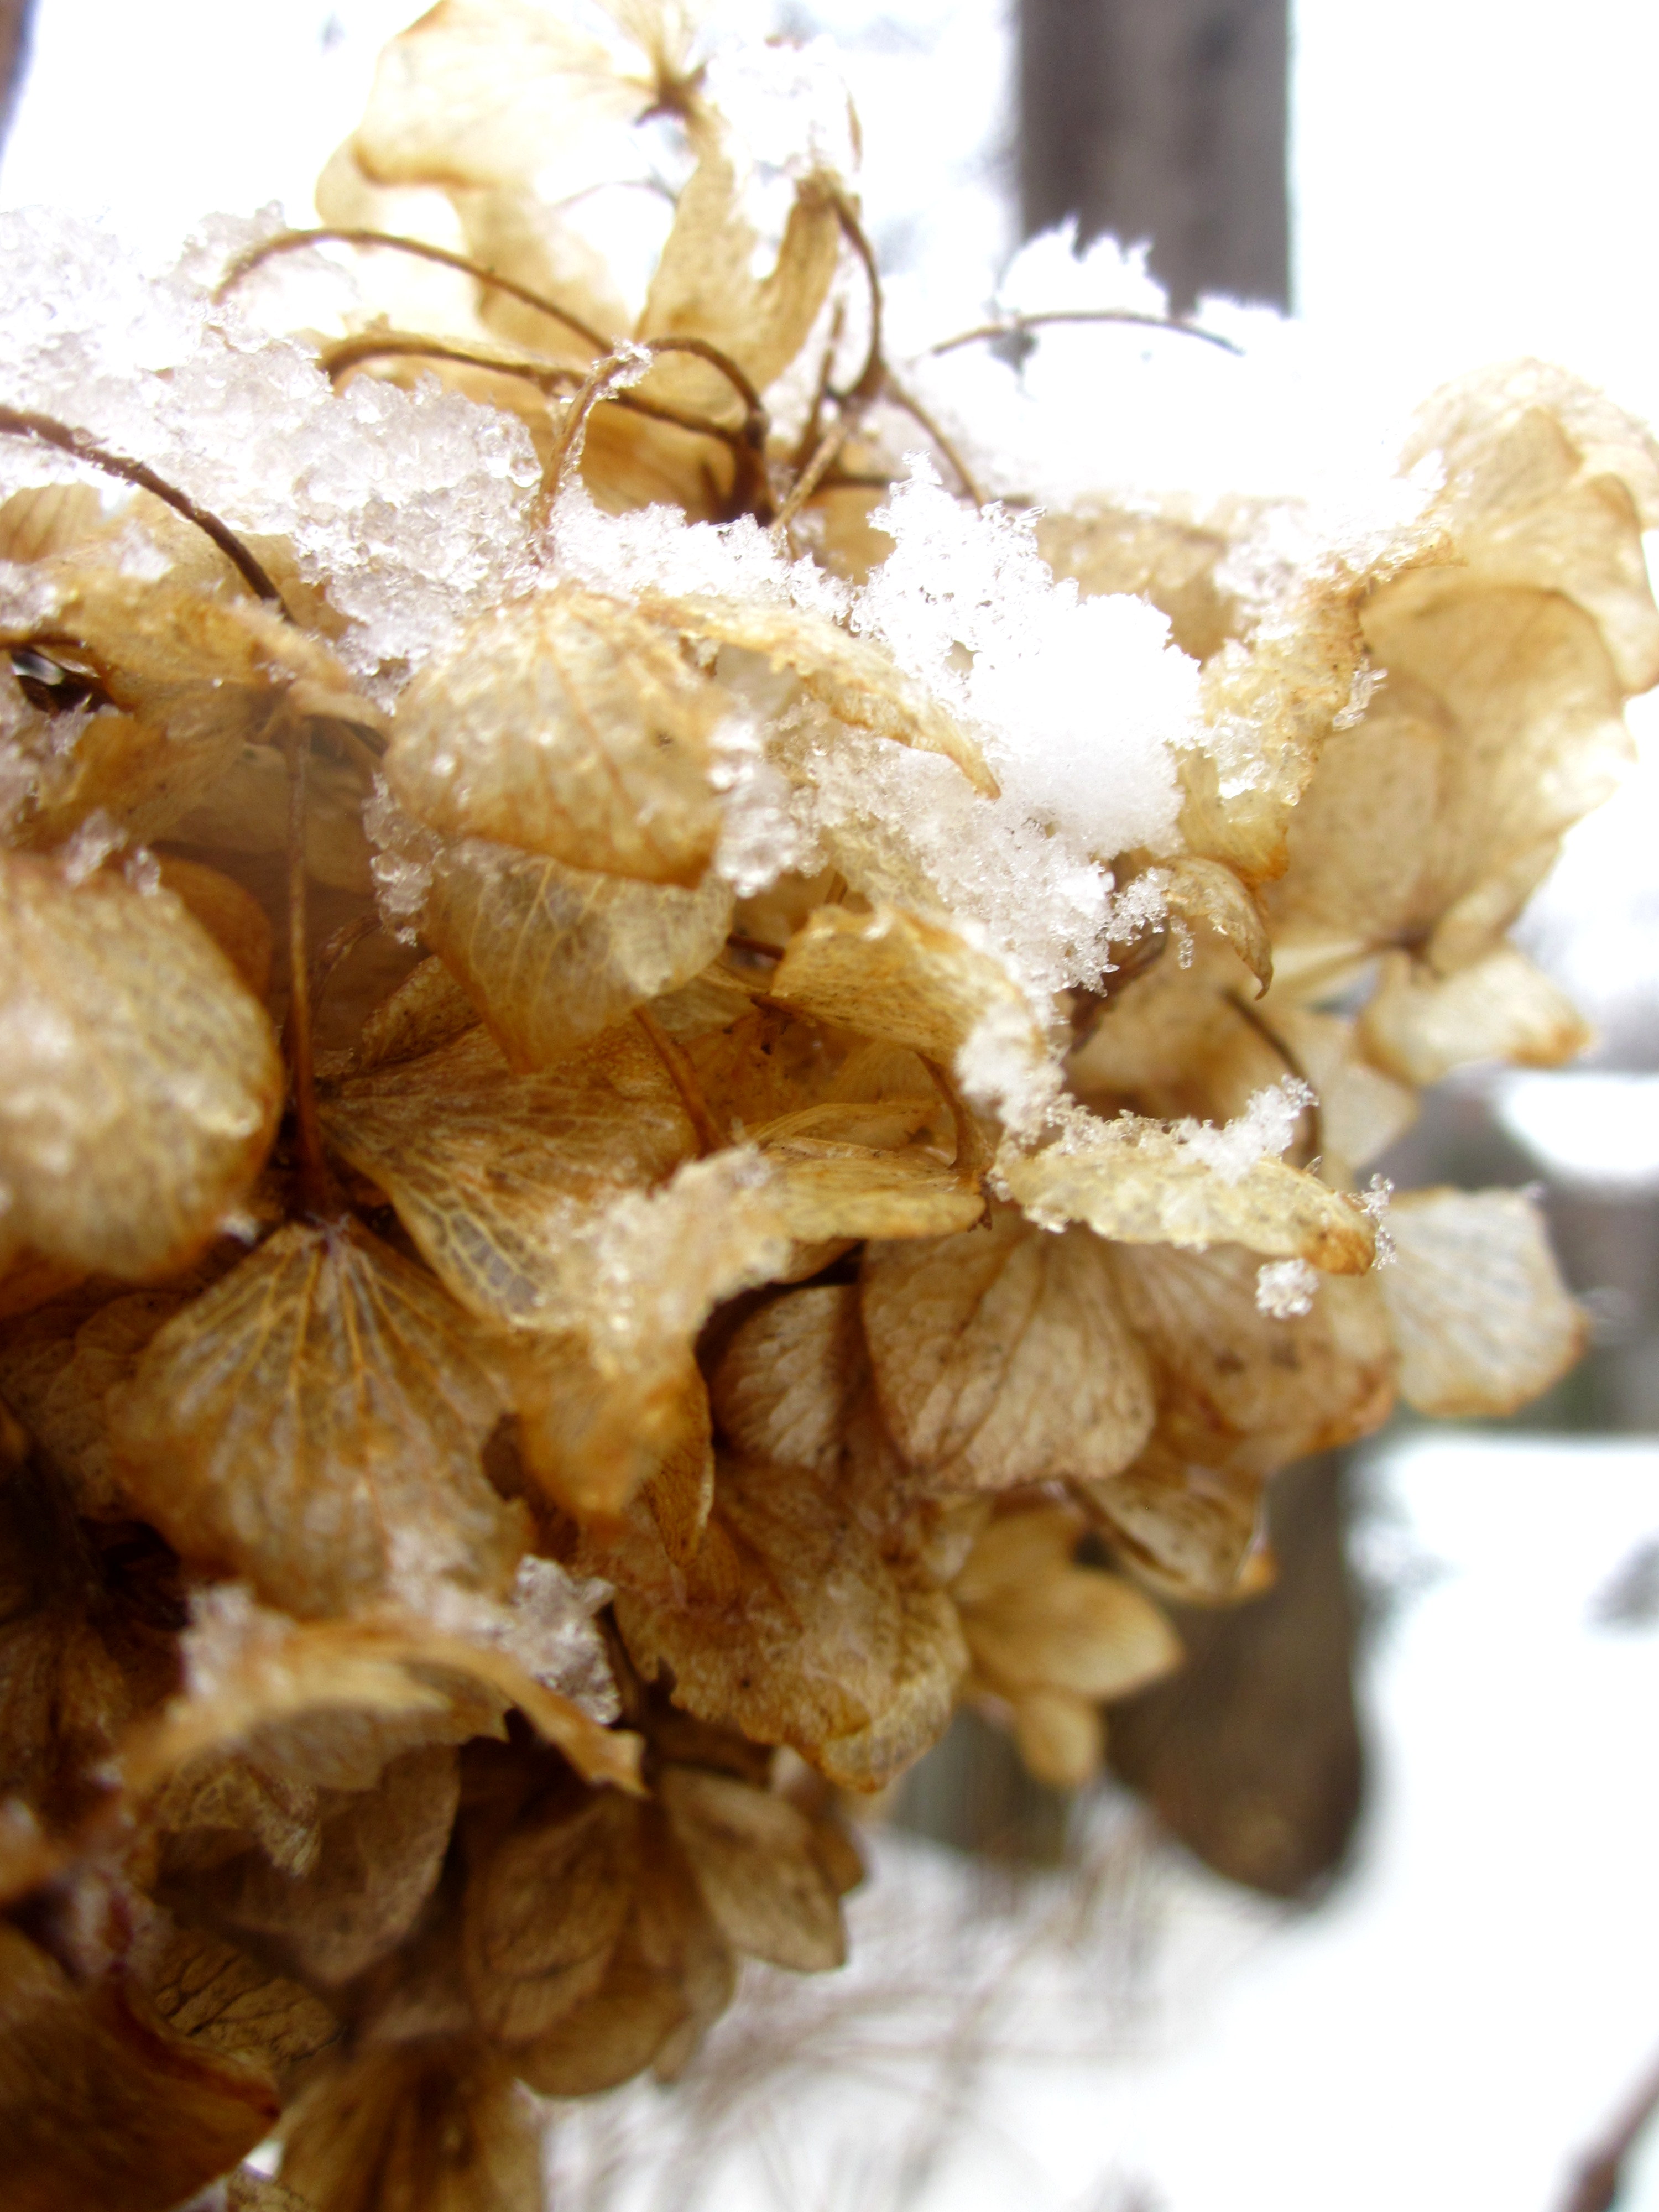
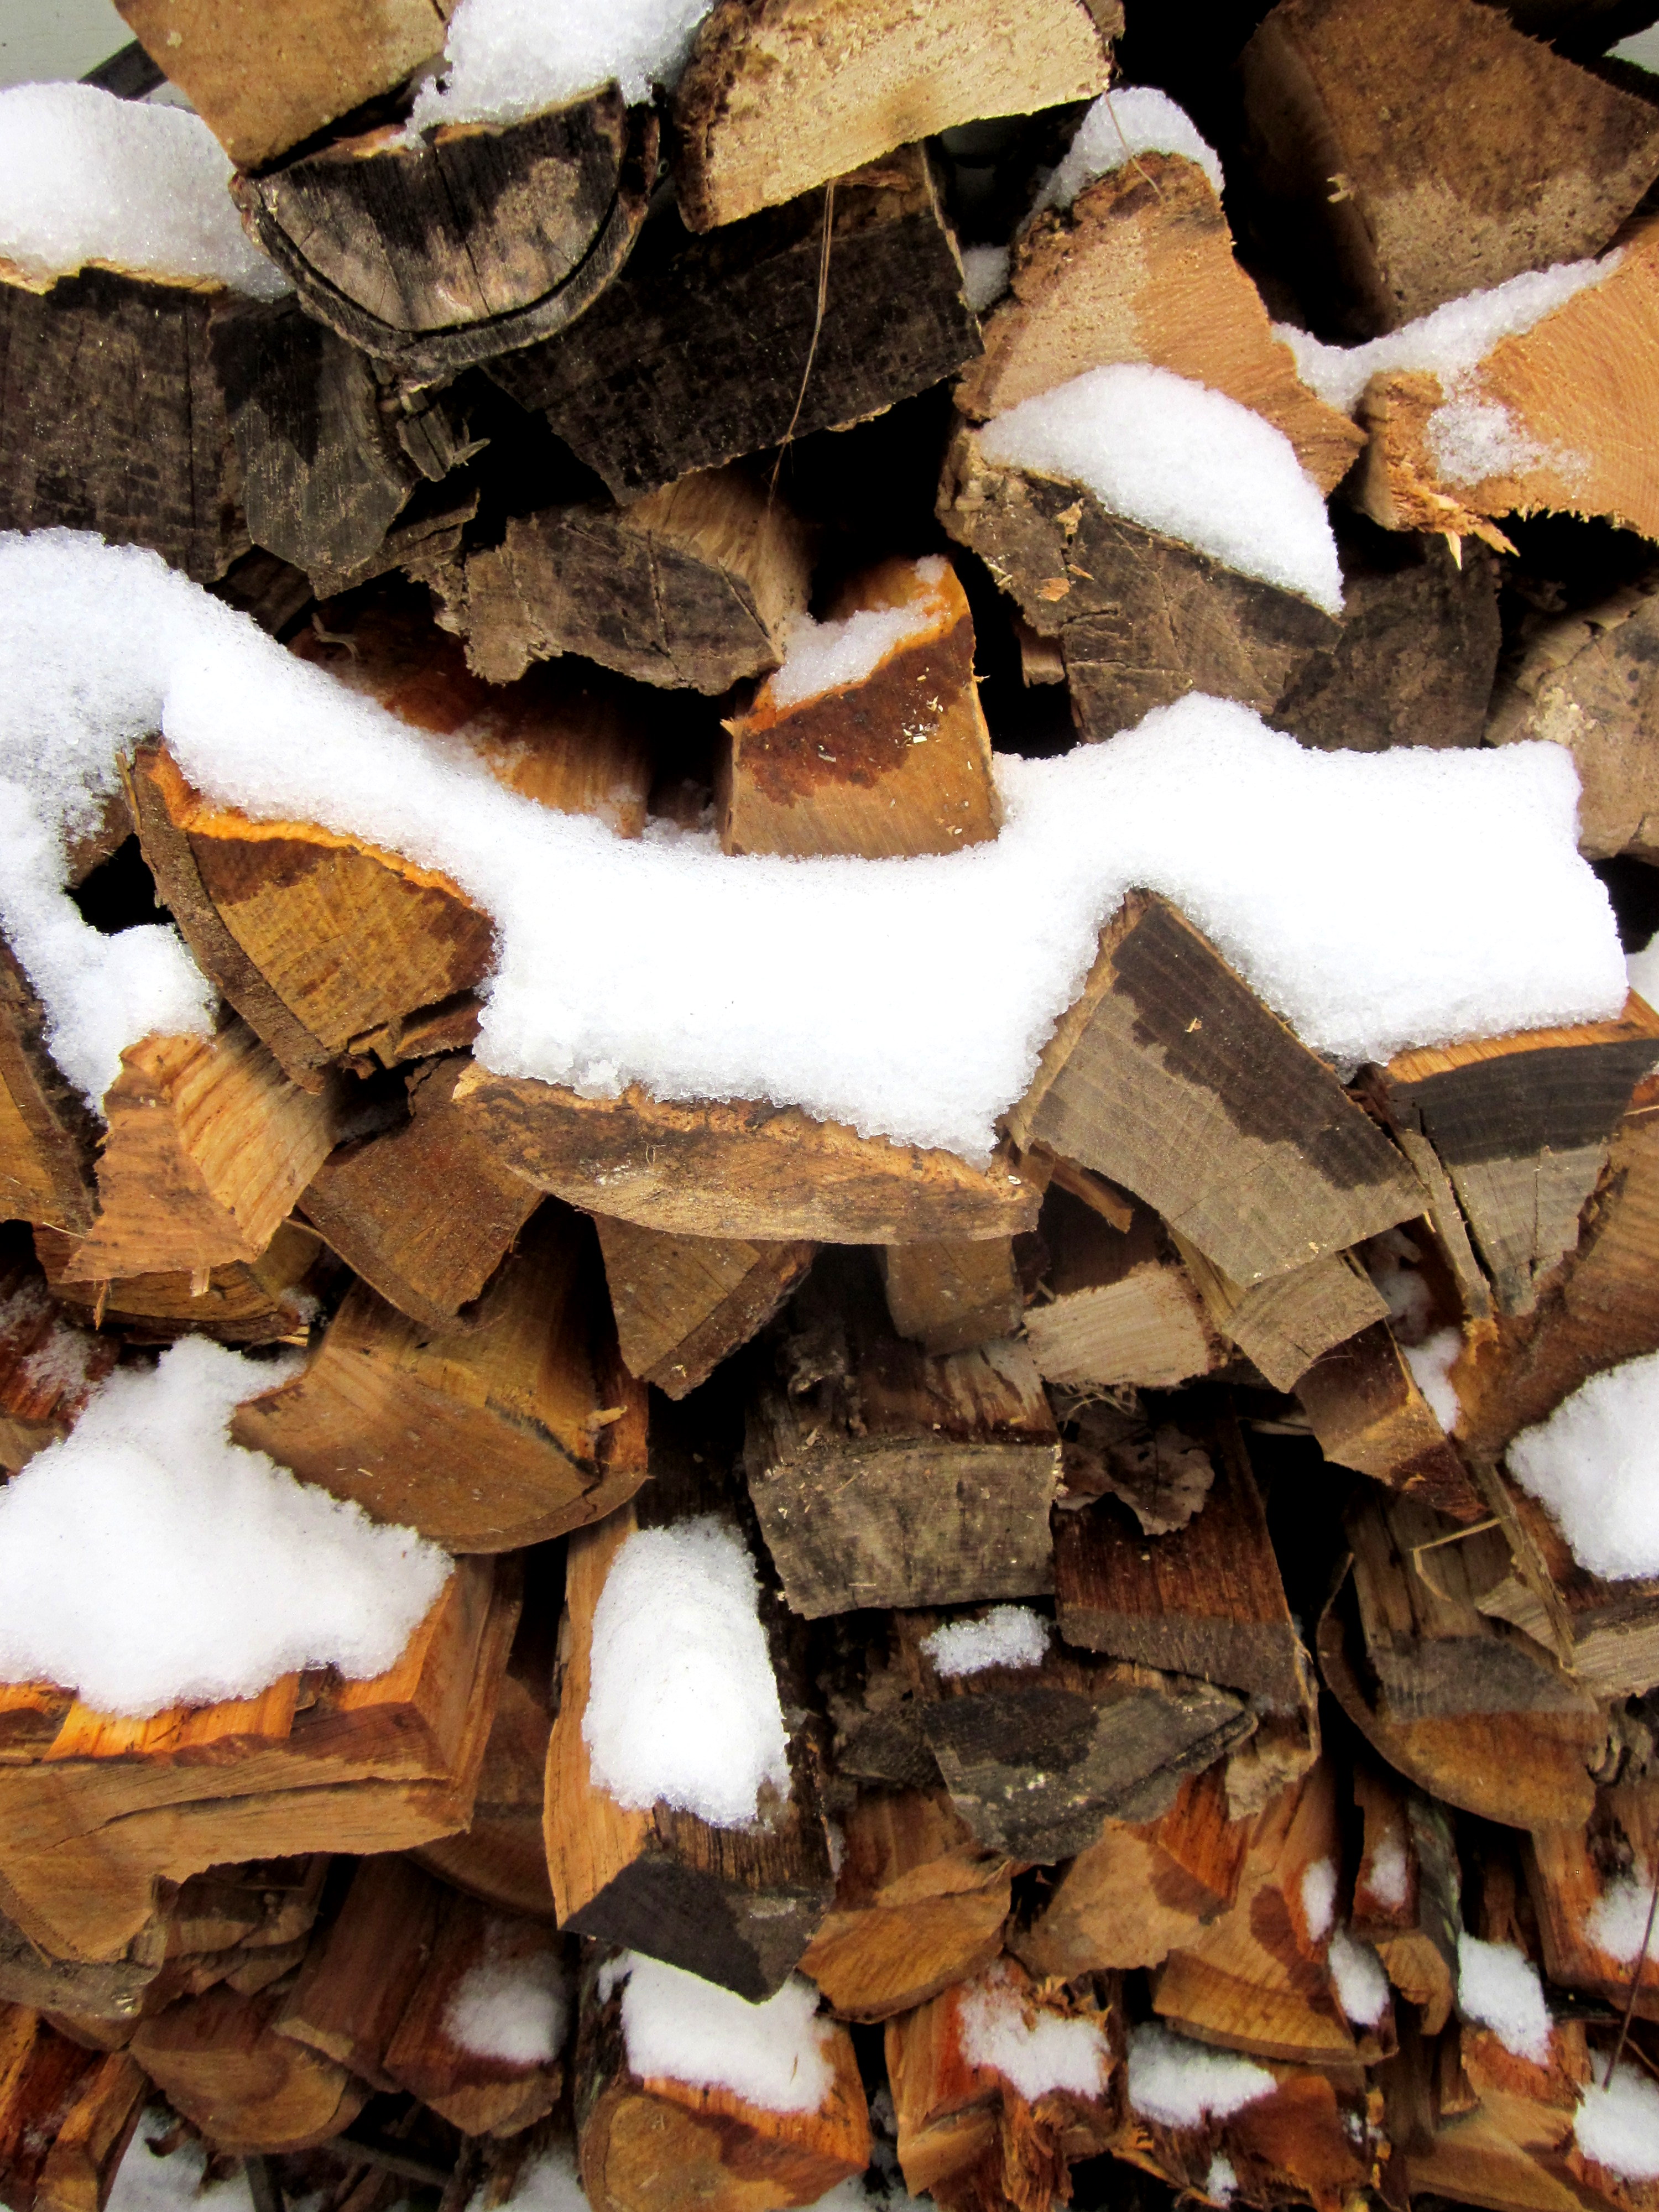
Days like these are made for slow-cooking…

IMG_0997IMG_0936IMG_0972IMG_0963IMG_0916IMG_1052IMG_0921IMG_1031

When I’m snowed in, one of the meals I crave most is the rabbit my grandpa would cook when I visited him in Piedmont during winter. The skillet of rabbit he would bring to the table may have looked humble compared to a whole roast chicken or slab of brisket, but it was full of flavor, tasting like the chestnuts the animal would feed on throughout the fall.

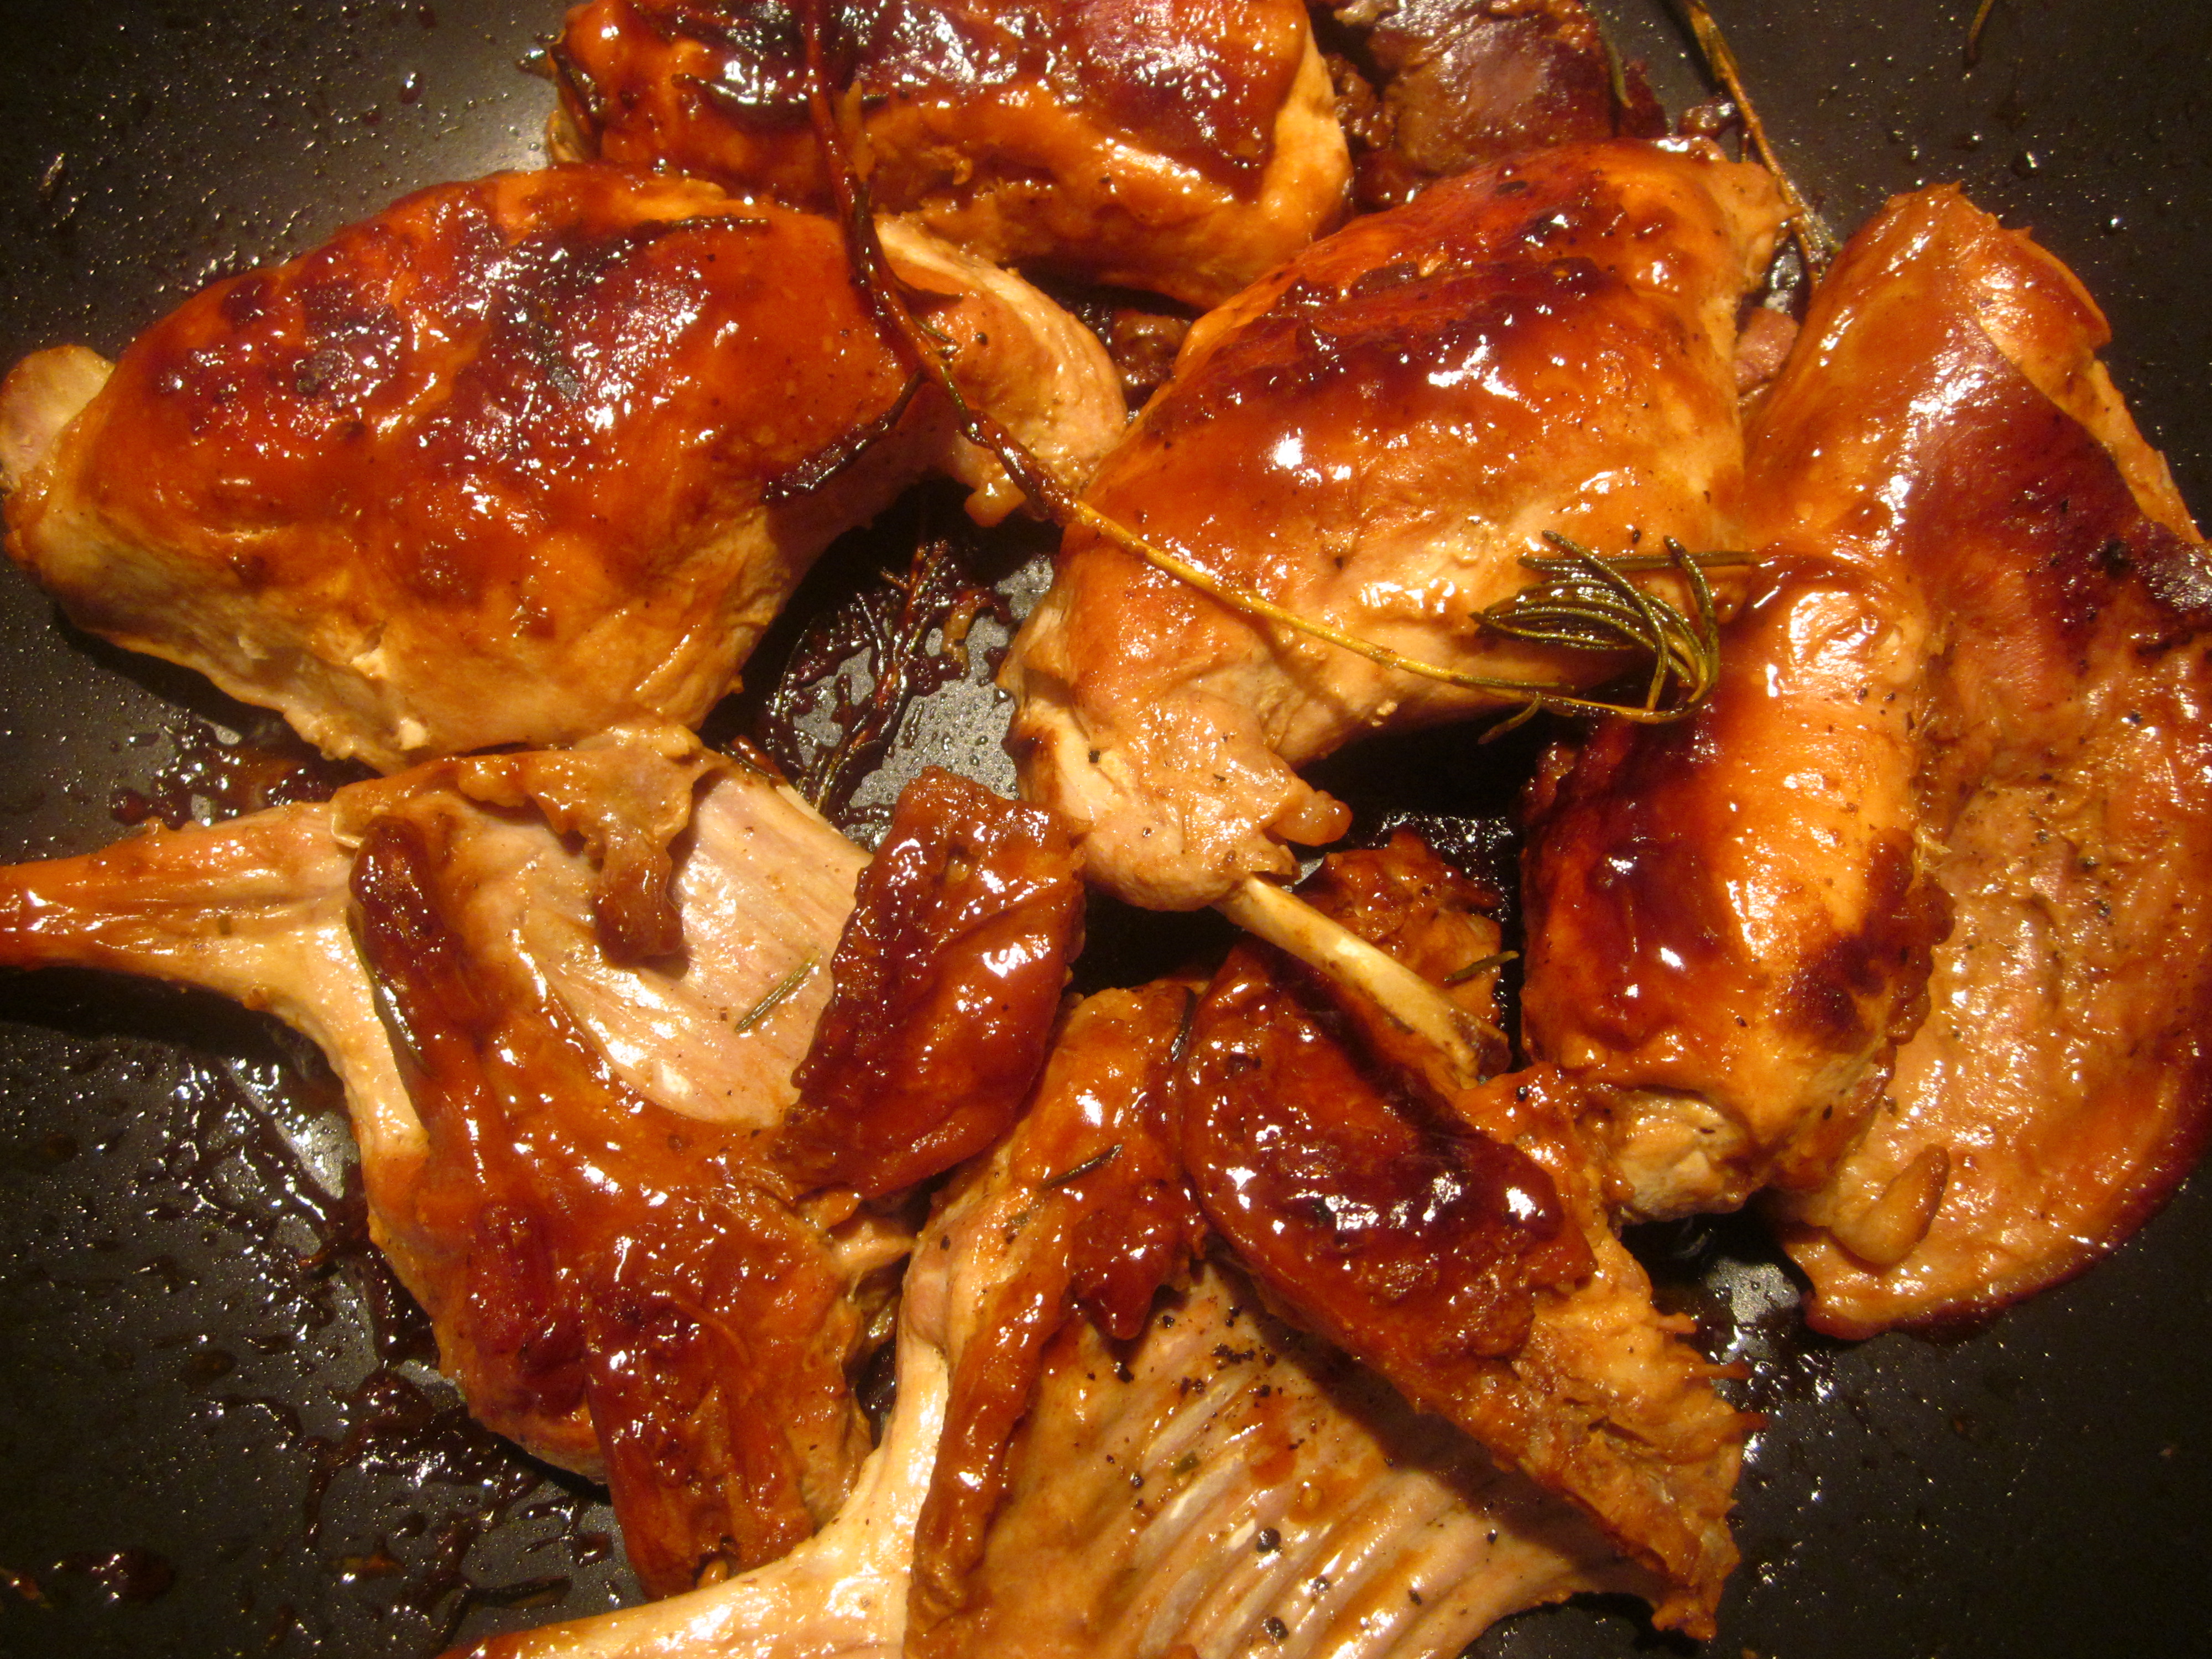
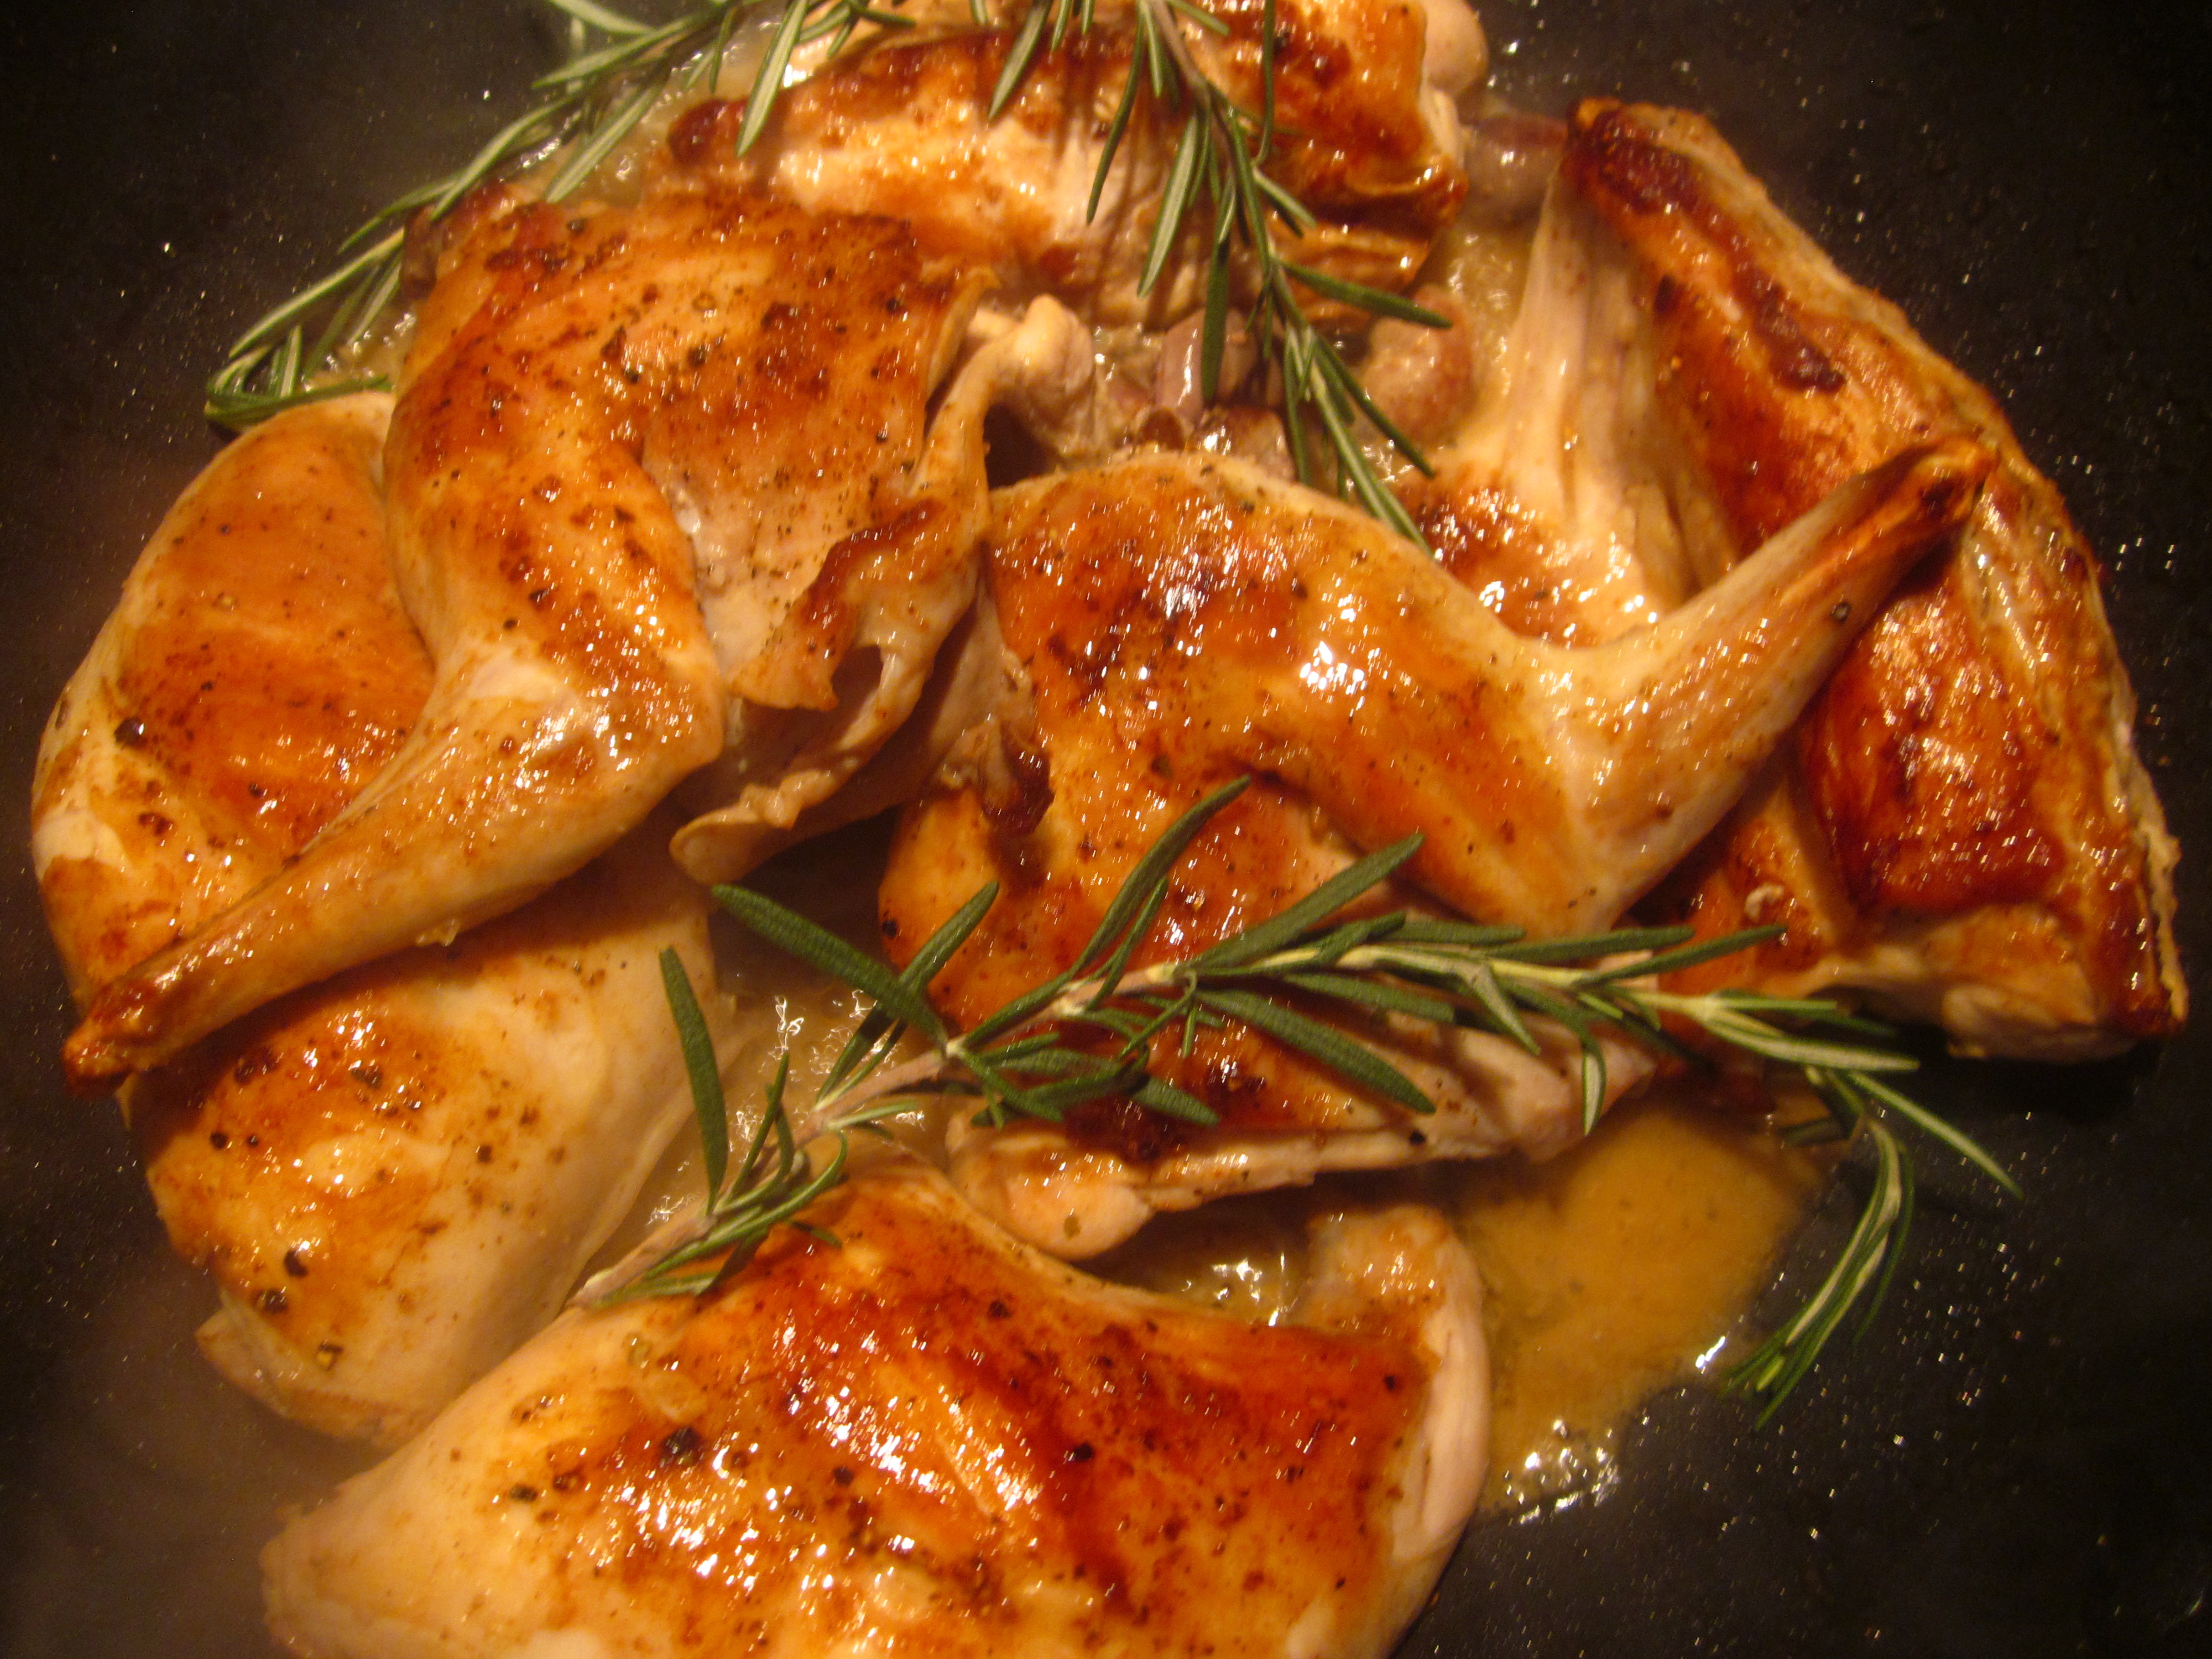
Arguably the most popular and widespread version of rabbit in Italian cooking is coniglio arrosto, which translates to “roasted rabbit.” Technically, the meat is braised rather than roasted, meaning it is initially seared over high heat, then simmered slowly with small amounts of liquid – a way of cooking meat that allows it to remain juicy as it develops an irresistibly caramelized skin.

Each region of Italy is associated with its own unique embellishments to coniglio arrosto, depending on the availability of specific seasonal ingredients and the characteristic foods produced within the area. In Liguria, for example, the meat is typically prepared with black olives, one of the main products of the coastal region. At the foothills of the Alps in Piedmont, where corn is plentiful, coniglio arrosto is often served alongside polenta or, in the spring months, lightly sautéed sweet peas. Regardless of the variations between different regional adaptations, coniglio arrosto, with its rustic informality, is an expression of the value of simplicity and making use of readily available ingredients.

My grandpa had grown up eating the coniglio arrosto cooked by his mother and raised in the farm where his family lived. The family recipe has been passed down not on a piece of paper, but through observation and practice, becoming more of an instinct than a formula. Here is how I’ve learned it, in approximations:

IMG_0991

Nonno Beppe’s coniglio arrosto

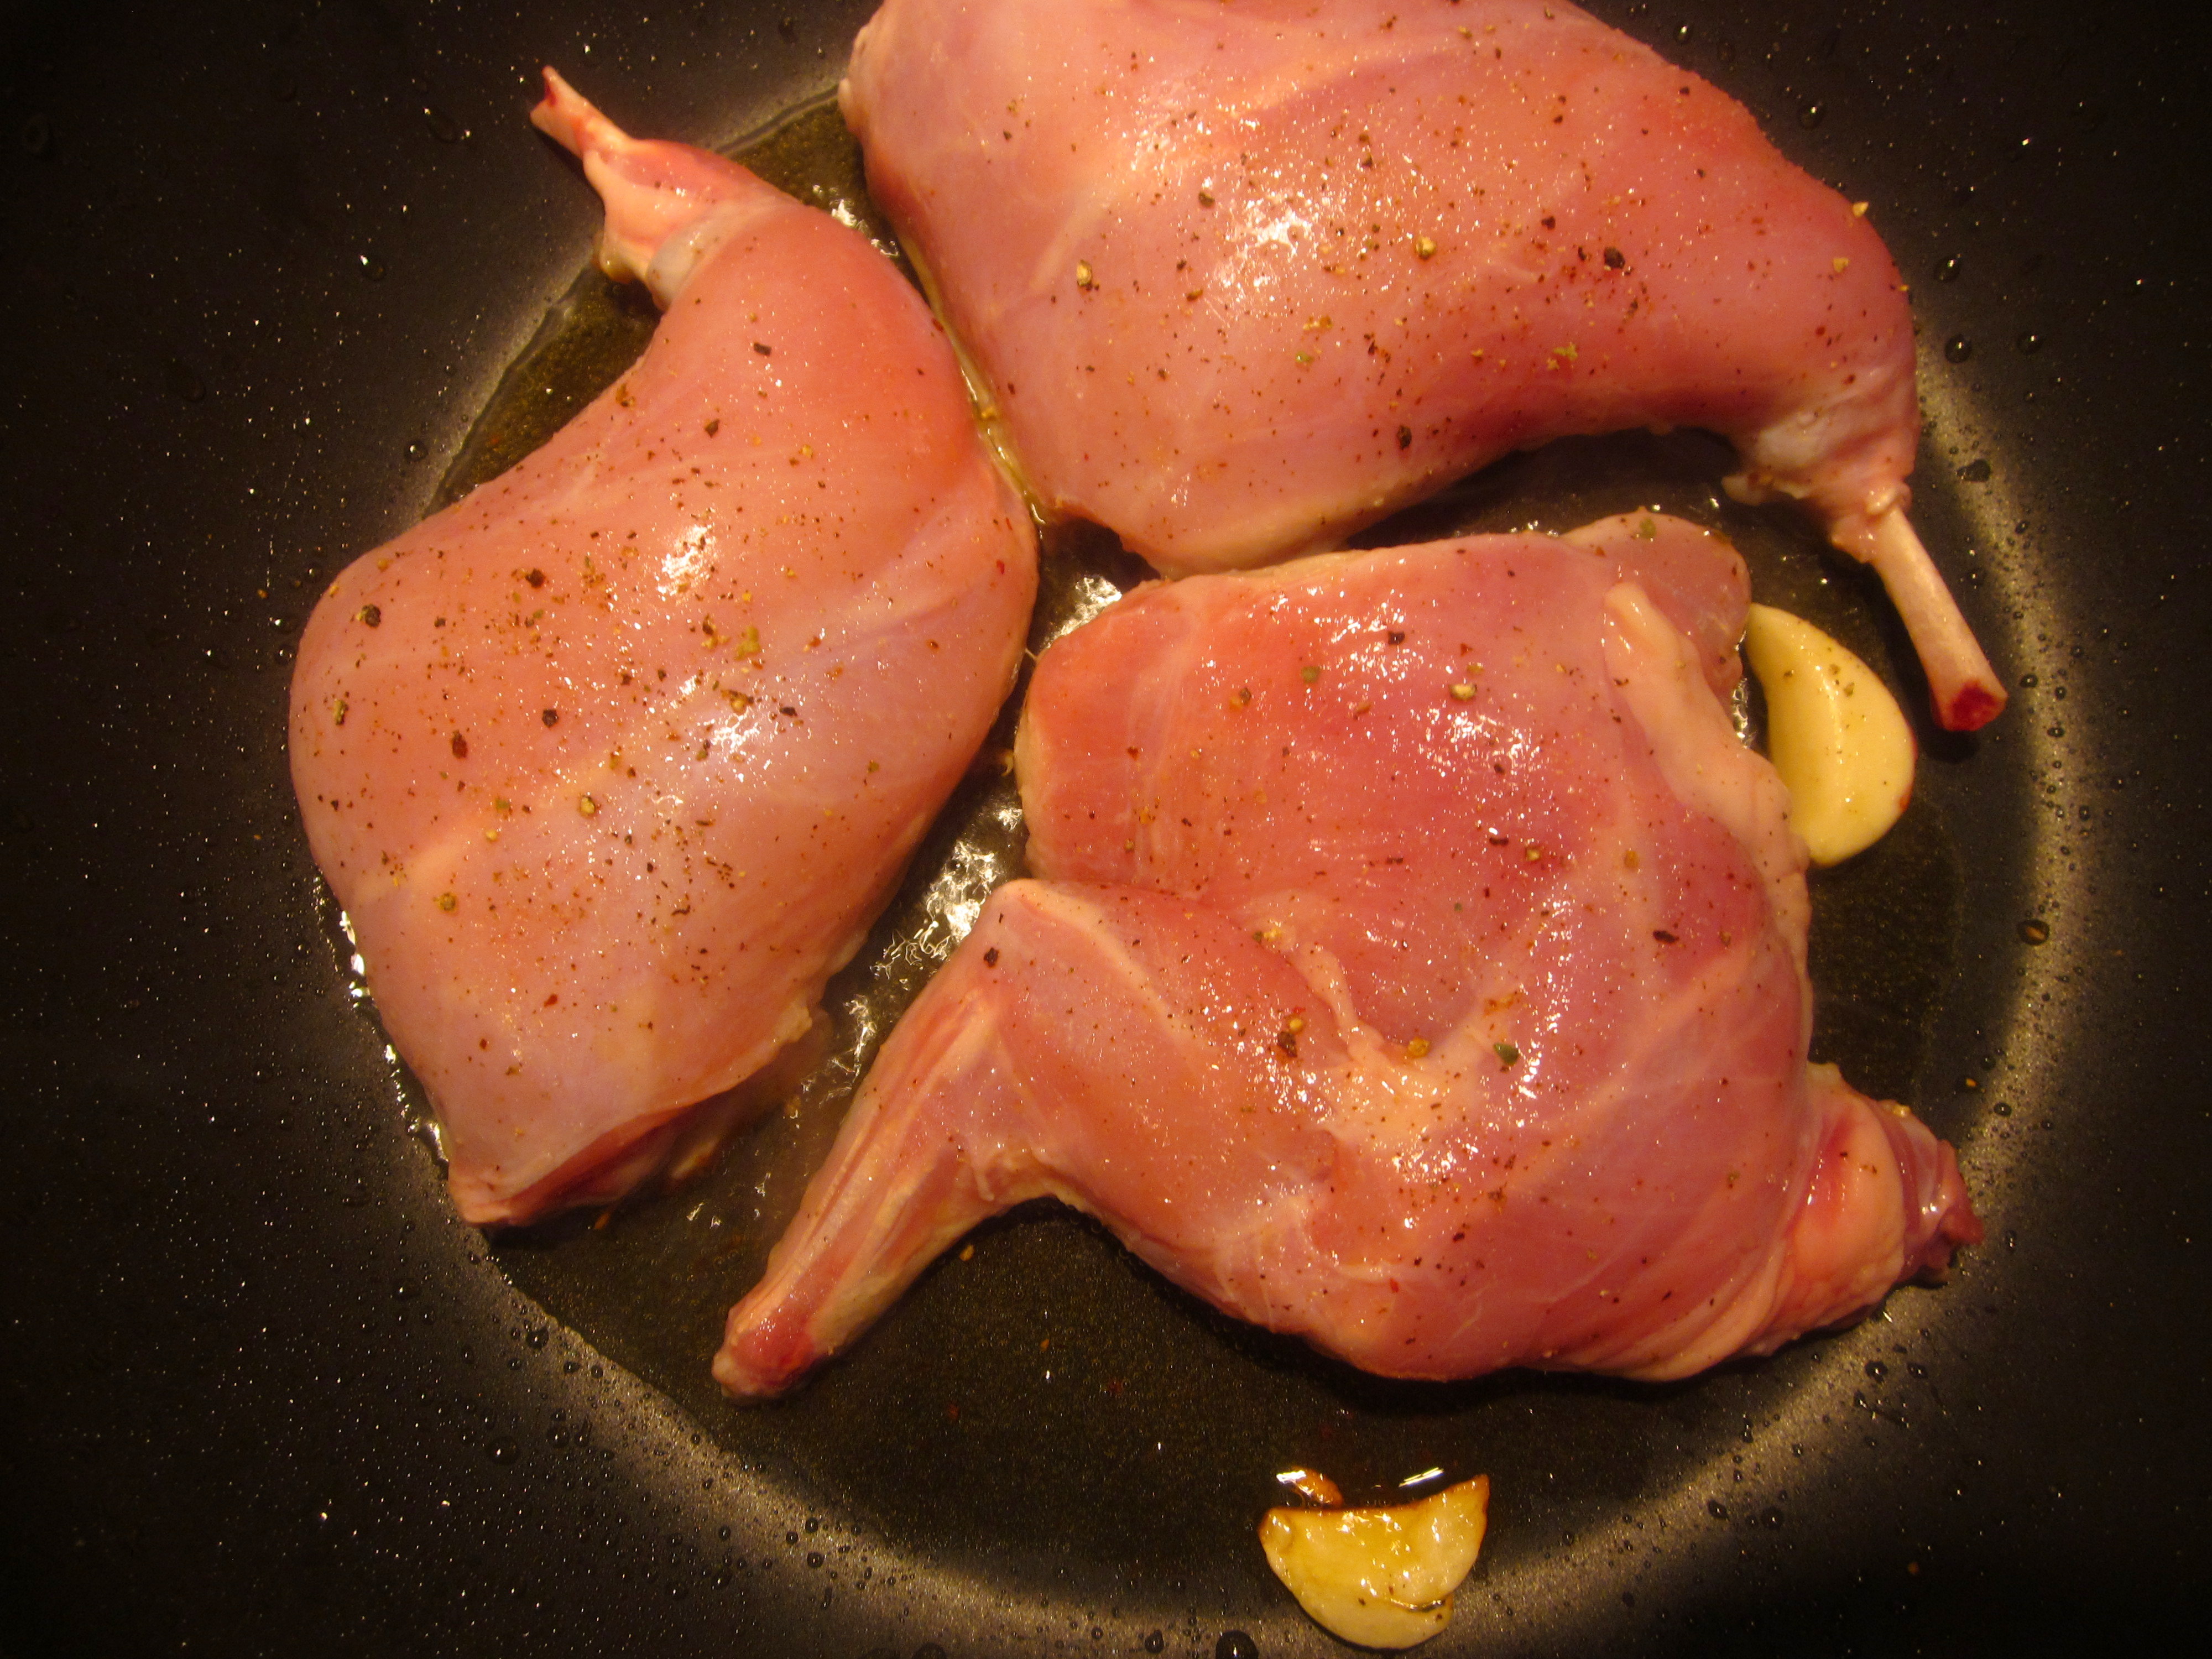
1 rabbit, cut into pieces (for those in the D.C. area, I found some Maryland-raised rabbit at Harvey’s butcher shop at Union Market)
1/2 cup dry white wine
3 tablespoons olive oil
2 sprigs fresh rosemary
2 cloves of garlic
Salt & pepper

1. Heat olive oil in a skillet with the garlic. Add the rabbit, seasoning the exposed side with salt and pepper. Sear over high heat for about 5 minutes, until browned. Turn, seasoning the other side, and cook for another 5 minutes or so. Depending on the size of your pan, you may want to sear the rabbit in two batches to avoid overcrowding the pan.

IMG_0979

2. Add white wine and rosemary sprigs, then cover the pan and simmer for 45 minutes to an hour. Once the wine has been absorbed, add about 1/4 cup water. Continue to check on the rabbit to see when the liquid has been absorbed, adding 1/4 cup at a time when the pan is dry.

IMG_0981

3. When the rabbit is almost done (fork-tender), continue cooking without the lid for about 10-15 minutes, until all the liquids are absorbed. On a snow day, serve with polenta.

IMG_0984

Standard
Italiando

The fungus among us

It’s Fall here in the Pacific Northwest, which means we’re in the heart of mushroom season. From about September to November,  damp days promise an abundance of funghi – one of the many similarities between this region of the U.S. and Piedmont, the province in Northern Italy where my family is from. Even on a short hike near Hood River, Oregon this past weekend, I was able to find a bunch of different mushrooms along the edge of the path:

IMG_0191-001

I’ve combed through some mycology books in an attempt to decipher the spoils of my amateur “mushroaming,” and am pretty sure the big one to the top right is a short-stemmed russola, and the red one a lobster mushroom. For each of the rest, I’ve come up with a handful of possibilities which seem to be either “edible but not recommended” or “deadly poisonous.” Hmmm…

Not feeling quite up to hallucinating this weekend, I foraged my neighborhood grocery store for a local mushroom alternative, and came out with some beautiful golden chanterelles.

IMG_0224

One of my favorite ways to cook mushrooms is in risotto, the ultimate comfort food for chilly nights. It’s a logical choice for using fresh mushrooms in Northern Italy, because the Po Valley, stretching from the Western Alps to the Adriatic Sea, is filled with rice fields. Since the delicate creaminess of the rice contrasts so nicely with earthy flavors, risotto is a great way to showcase woodsy ingredients like mushrooms and walnuts in colder months, or nettles and asparagus in the spring.

When buying rice for risotto, try to track down the carnaroli variety. Because these kernels are a bit shorter, they tend not to overcook as much as other alternatives, such as arborio. That being said, it’s perfectly fine to use arborio; you just need to be more attentive to ensure your rice does not cook beyond al dente.

IMG_0238b

This recipe serves around 8, with ample leftovers, and takes about 30 minutes to make.

About 6 cups carnaroli or arborio rice – The general rule in Italian cooking is “un pugno per persona” (one fistful per person), but that’s in the context of a larger meal where rice would be only the first of several courses. I usually serve risotto as a main dish together with a salad/side, so I estimate about 2 to 3 fistfuls per person.
About 3.5 quarts (14 cups) chicken stock – The calculation here is about 2 times as much broth as rice. I like to overestimate the amount just in case – you can use any extra broth when reheating leftovers the next day.
About 5 cups cleaned mushrooms – Here I’ve used chanterelles, but other types, especially porcini (even reconstituted dry ones), would also work very well.
1 large yellow onion (about 1 cup diced)
1 cup Parmigiano Reggiano, grated
1/2 cup dry white wine
Small handful of fresh parsley, chopped
3-4 tablespoons butter
Olive oil
Salt & pepper

The first step is to clean your mushrooms, something done best with a glass of wine, sitting among good company. Here is my mom preparing chanterelles for cooking – wiping them clean with a damp paper towel, trimming the bottom of the stems, and cutting them in half (large pieces are fine, since they’ll shrink as you cook):

IMG_0237

Next, bring the stock to a boil in a large pot on a back burner of your stove. Season your broth with salt – that way the rice will absorb the salt together with the liquid. Once hot, continue to simmer over low heat to keep the broth warm as you make the risotto.

In another pan, sauté half of the onion in olive oil, adding the mushrooms a few minutes later. Cook, stirring occasionally, until the mixture starts to brown; season with salt & pepper, then set aside.

In either the same pan as you cooked the mushrooms in, or in a new one (so long as it’s big enough to hold all of the risotto- the rice will expand!), sauté the rest of the onion over medium heat in a few tablespoons of olive oil. Once the onion begins to turn translucent, add the rice, stirring continuously and keeping a close eye on it to prevent it from burning. Toasting the rice without liquid at this stage allows it to develop a slight crust so that it absorbs the broth gradually during the rest of the cooking process, rather than all at once. It’s a bit like searing meat before roasting.

After the rice toasts for roughly two minutes, add the white wine and stir gently, keeping the heat at medium high. Once the liquid is just about fully absorbed by the rice, add one ladle of broth, always stirring often. Continue to add a ladle of broth at a time, stirring and waiting for the liquid to absorb before the next addition, until the rice is just shy of al dente – this shouldn’t take more than 20 minutes.

About 5 minutes before you think the rice will be ready, stir in the mushrooms and check your seasoning, adding salt and pepper to taste. Then add your final ladle of broth (stir just to incorporate) and take the pan off the heat. This is the all-important stage called mantecatura, when cheese and butter are added to create the dish’s signature creaminess: add the parsley, 3/4 cup of Parmigiano, and 3 to 4 tablespoons of butter, then cover the pan and let sit for a minute.

IMG_0242

Stir everything together, and serve with extra Parmigiano on the side.

Standard