A good crust recipe provides the foundation for countless experiments in the kitchen, from double-crust pies to latticed fruit tarts, puffy quiches to savory appetizer bites. Once you become comfortable rolling out dough, the world of baked goodness is your oyster, since coming up with fillings is the easiest – and most creatively fulfilling – part of all.
For anyone in the Seattle area, I recommend taking the PCC Cooks class “Easy as Pie” for a great hands-on lesson in making crust. The recipe from the class, which I’m sharing below, is now my go-to guide for pies. It’s based around a food processor, so it’s quick and easy to clean up. And it’s easily adaptable; when making a savory dish, I just eliminate the sugar.

This recipe makes enough for a double-crust pie (or a latticed pie, with extra crust for a little mini pie). You’ll need:
2 1/2 cups all-purpose flour
2 sticks of butter (1/2 lb), cut up in small cubes – Since using cold ingredients is very important in achieving a flaky crust, put the cubes of butter in the fridge until you need them.
1 teaspon salt
1 teaspoon sugar
About 6 tablespoons of cold water – Again, temperature is key. I usually fill a small bowl with water and ice cubes as I get my ingredients together, and stick it in the fridge, measuring out the amount I need just before using.
Combine the flour, sugar, and salt together in your food processor. Add the butter cubes and pulse several times, taking care not to over-mix. You’ll know when to stop when the butter cubes turn into pea-sized clumps:

Next, add the water as you pulse the mixture. Since there are many variables that affect the dough coming together (like humidity, freshness of the flour), don’t assume you’ll need to use all of the water. I recommend pouring in about 3/4 of the estimated amount in a slow, steady stream, then assessing the consistency of the dough before adding any of the rest. It should be starting to clump together, but shouldn’t be a solid mass. If it sticks together when you press it between your fingers, you’re set:

Dump the mixture onto a piece of plastic wrap and mold it into a ball, bringing the four corners of the sheet of plastic together at the top. It’s important to do this quickly – the warmth of your hands will start to break down the butter, diminishing the flakiness of your crust. Cut in half and wrap each piece in plastic, flattening it into a disc, before placing in the fridge to chill for at least 30 minutes.
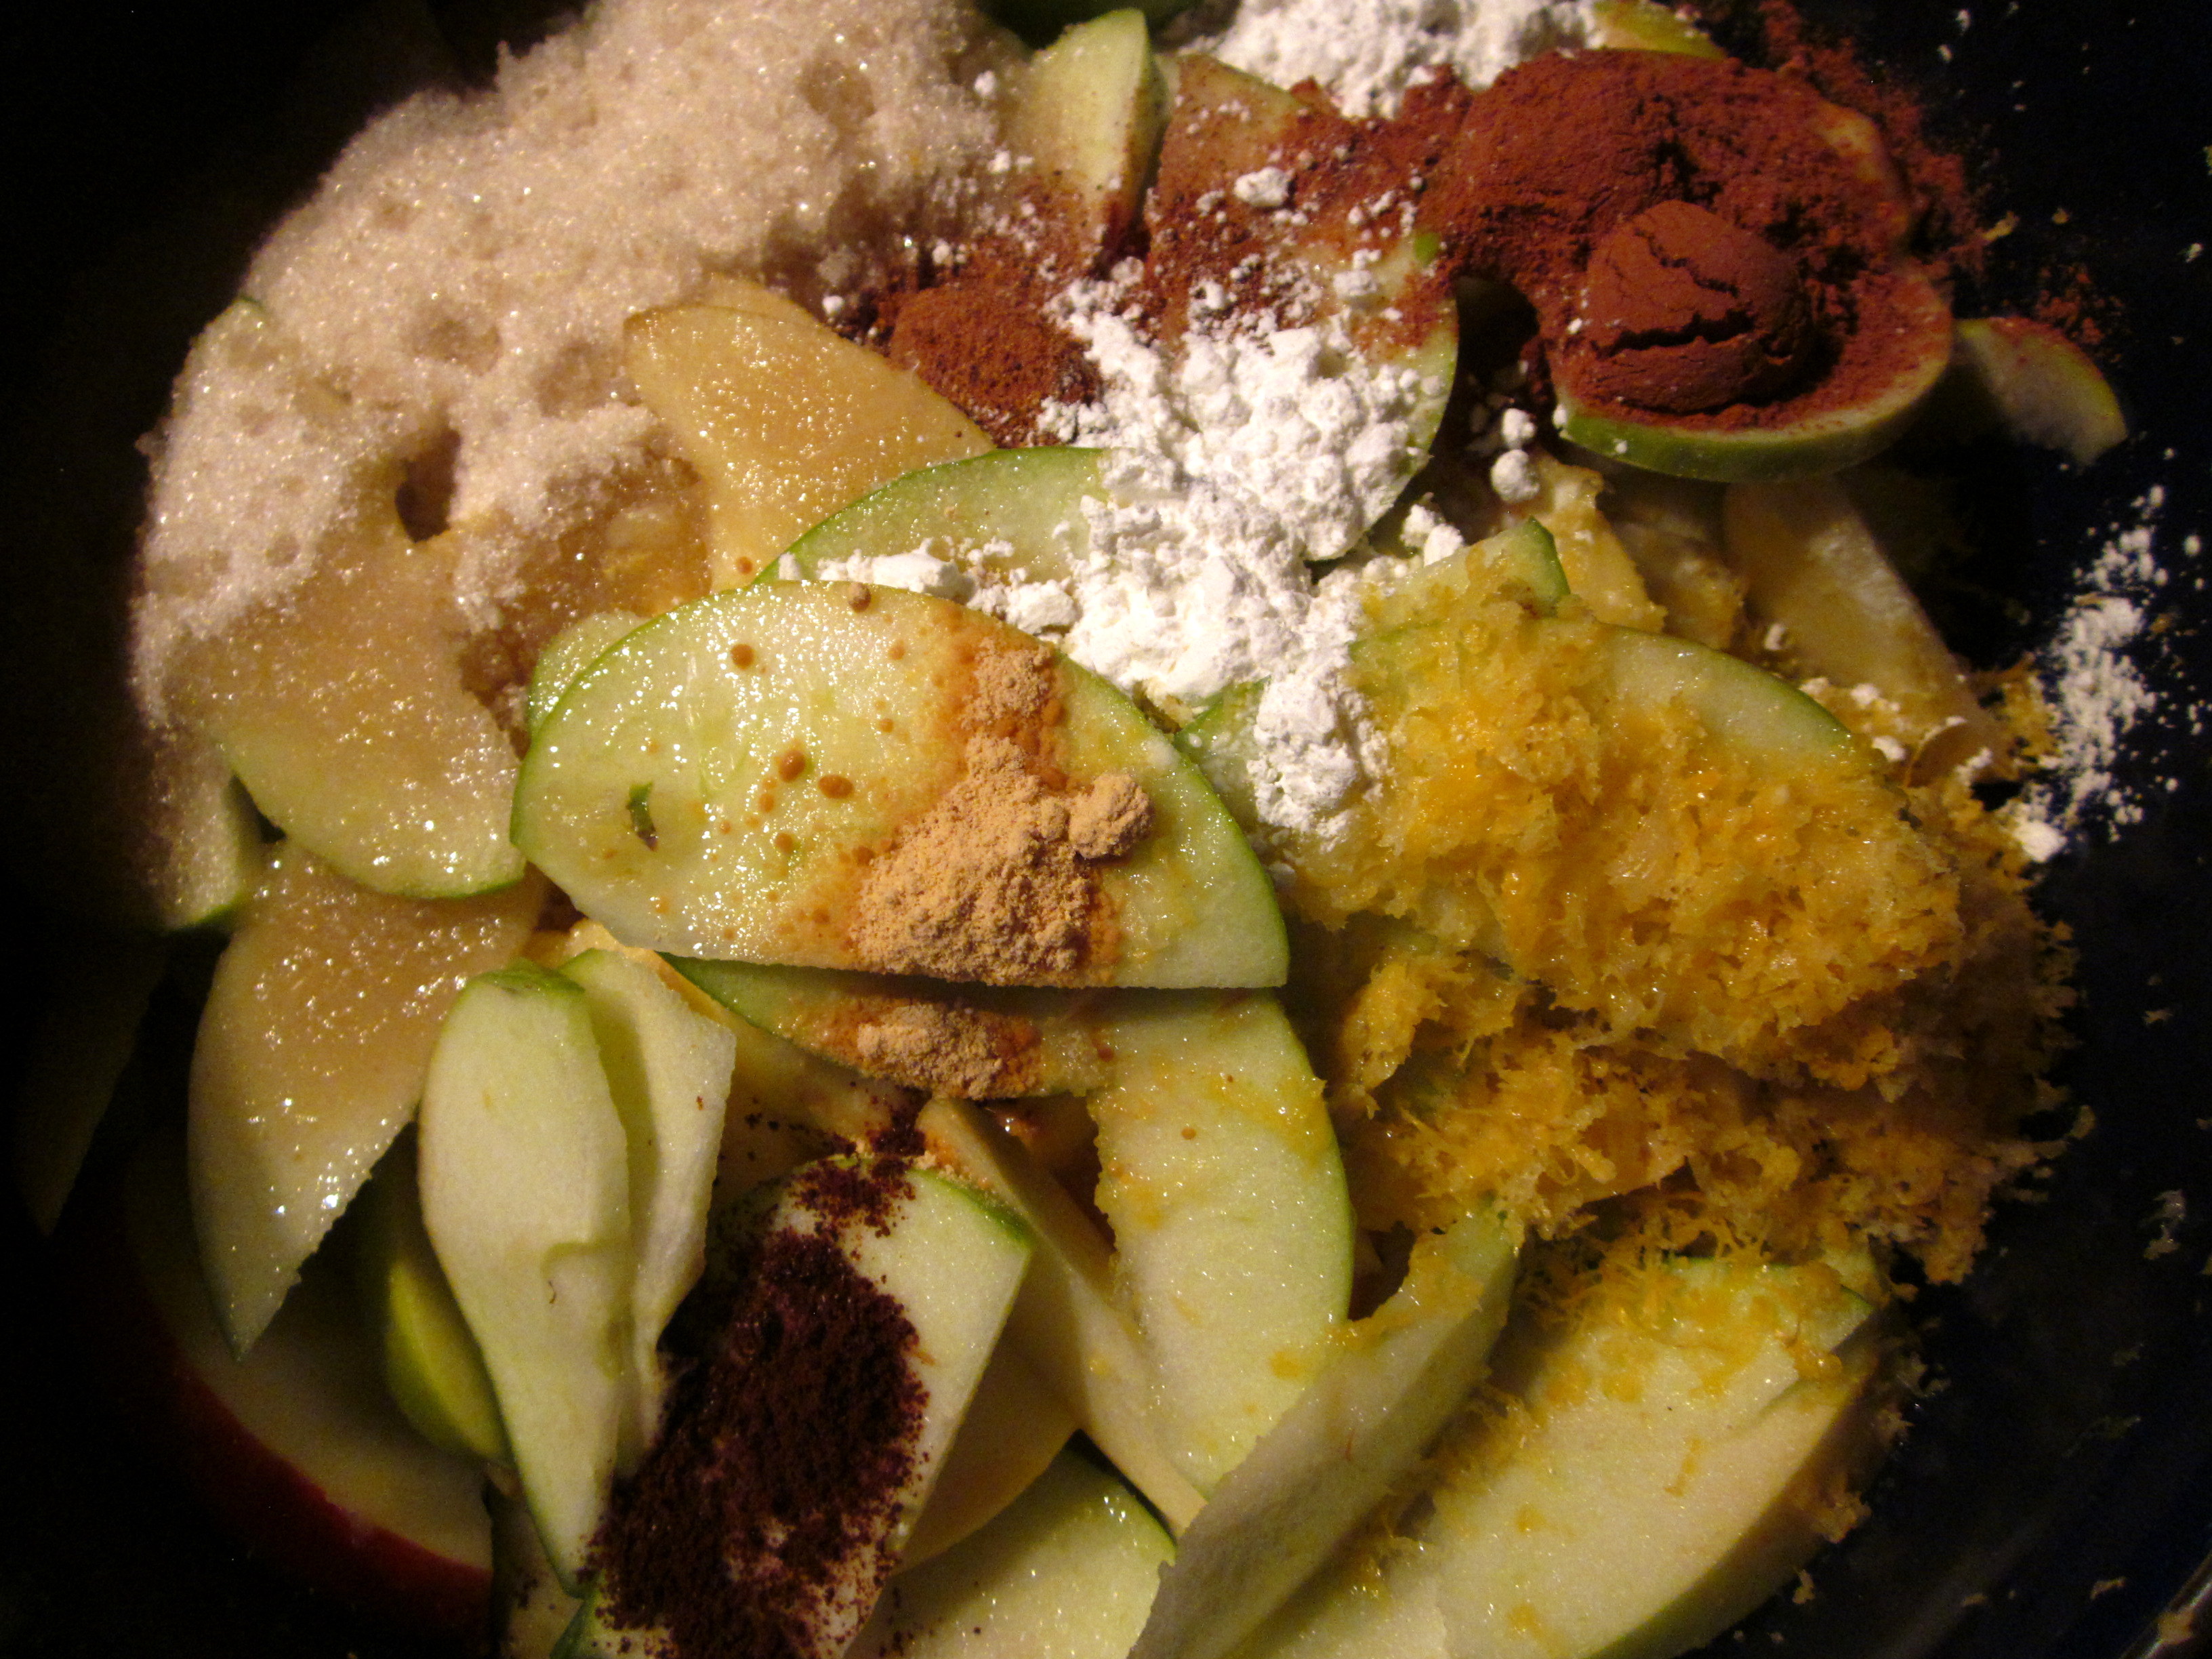
While the dough is in the fridge, you can come up with a filling. I’m still on a Washington State apple kick, so I thought I’d stick to good old fashioned apple pie here. For an apple pie filling you’ll need:
A large bowl of sliced tart apples (about 8 apples) – It’s up to you whether you want to peel them or not.
3/4 cup sugar
1 lemon (zest & juice)
1 1/2 teaspoons cinnamon
1 teaspoon nutmeg
1/4 teaspoon cloves
1/4 teaspoon ginger
1 tablespoon cornstarch

Combine all the ingredients together in a bowl (if you like the apples in pie to be soft and mushy, you can also put the mixture on the stove for 5-10 minutes). Roll out your first disc of pie dough and gently transfer it to a pie pan. Pour the apple mixture into the pan, making a slight mound towards the center. Dot with a few pieces of butter.
Roll out the second disc of dough and place on top of the apples. Cut off any overhanging dough, and crimp the crust using the index finger of one hand while pinching the dough with the thumb and index finger of your other hand. Cut a few decorative slits in the crust to allow steam to escape during cooking. Lastly, beat an egg and brush over the exposed dough to ensure a beautifully golden crust.
Bake for about an hour in a 375° oven, covering with aluminum foil halfway to prevent the crust from burning. Let cool for a few hours, even overnight.

And there you have it – domestic bliss!